Disclaimer: While we only recommend products we know and love, we want to note we use affiliate links and may earn a commission for purchases made through those links.

If you’re a graphic designer by trade, Corel Draw may not be your graphics editor of choice. If you’re a small business owner without a lot of graphic design experience choosing to do your branding in-house, Corel Draw is a great choice. You can pretty much address all your web and print graphics needs for a fraction of the price of the typical designer preference, Adobe. Since you’ve landed on this page in your travels, you probably already know that. Your stumbling block may be that blank page within Corel that you’re staring at while wondering the quickest and easiest way to get professional-looking business cards designed, printed, and ready to hand out. We’ll take you step by step through the process.
A Quick Note About Versions: I’m using Corel Draw 18. As long as you’re using a version in that same vicinity (i.e., 16, 17, 19, or 20), your view should look pretty similar to the screenshots included throughout these directions.
1. From within Corel Draw, go to File > New. You want an 8.5 x 11” portrait page that’s CMYK and 300 dpi:

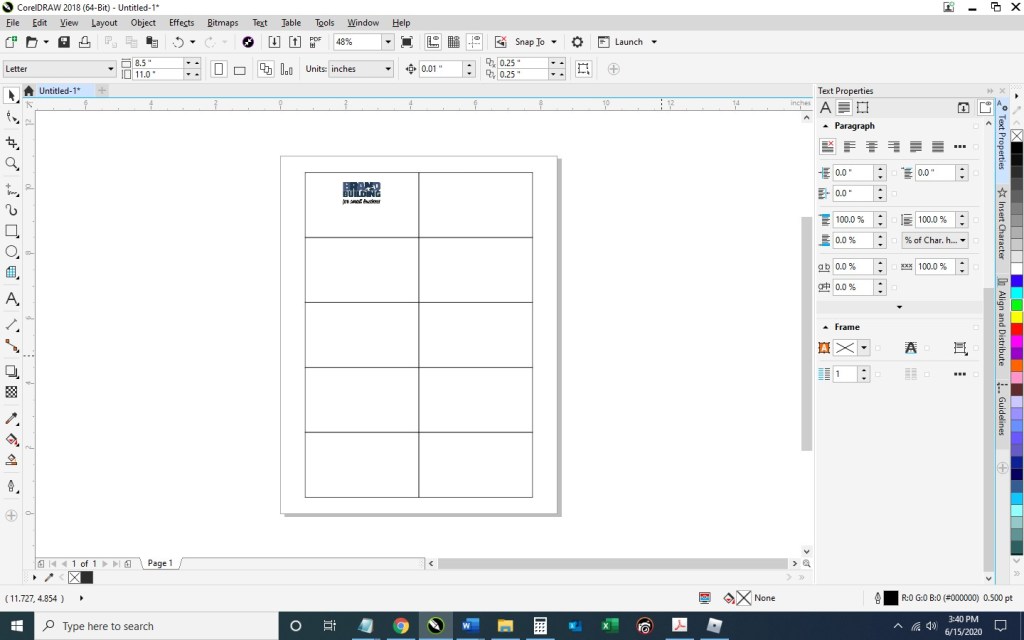
2. Select the Graph Paper Tool:

Input 2 columns by 5 rows:

Draw the graph in any size and then switch to the Pick tool:

Change the size of the graph to 7” wide x 10” high and then type “p” to center the object on the page:

Double click the Outline Pen at the bottom right of the screen and change the color to dark gray, the width to hairline, and the style to dashed:

Then press Ungroup Objects with the graph still selected:

3. With the layout of your business card document ready, Go to File > Import and navigate to an image of your logo and click the Import button. Then, resize as desired and place your image within the top left rectangle. To ensure your logo is perfectly horizontally centered within the space, select the logo first, hold down the “shift” key to be able to select multiple objects, select the rectangle, at which point you can deselect shift; then, press “c” with both objects selected.
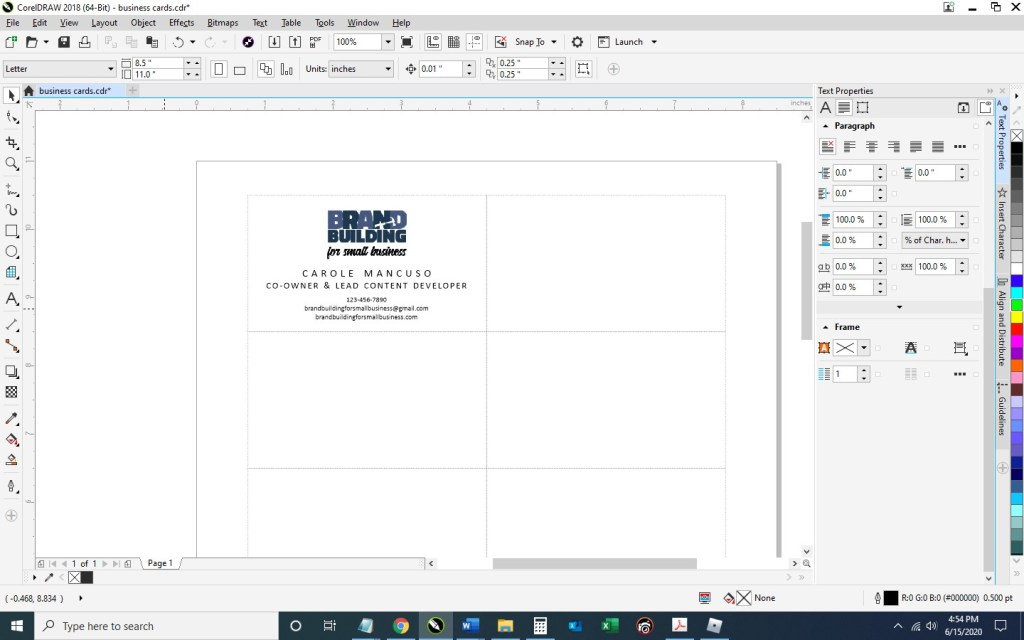
Select the Text tool so you could begin adding content:

Click anywhere on the page and type your name; press enter and add your title; then, continue adding the rest of the details you would like to show on your business card. I’m going to include my title, phone number, email address, and web site. Finally, set the alignment of the text to centered and choose your font and font size. I’m going to use Calibri, size 11 for my name; size 10 for my title; and 7.5 for the rest of the information.

Move the text to the desired spot within the rectangle and horizontally center the two (click the text, press the ”shift” key while also selecting the rectangle; then, press “c”):

Now, you’ll want to adjust the spacing a bit. With the text selected, press Ctrl + k to break each line into its own text object. Then, I’m going to stretch out the character spacing of my name from 0% to 150%. To do so, press Ctrl + t to edit the text properties.

To ensure the two words don’t run into one another with the extended character spacing, I’m going to change the Word Spacing from 100% to 450%:

For my title, I’m going to use 50% character spacing and 250% word spacing.
Next, I’m going to select the phone number, e-mail address, and web site – pressing the down arrow key a few times until I’m happy with the placement:
4. And now we’ve got one business card in place! To distribute the card design throughout the page so they can be printed ten at a time, select the rectangle you’ve been working on along with all the content inside and press Ctrl + g to group them together. Press Ctrl + d to duplicate the business card:

Keeping the newly created business card selected, press the “shift” key while selecting the top right rectangle; then, press “e” to vertically center and “c” to horizontally center:

Select your two business cards and press Ctrl + g to group the two together and then Ctrl + d to duplicate them both:

With your newly created group of two business cards selected, press shift while selecting the second rectangle in the first column, and press “t” to top align the objects and “l” to left align the objects:

Repeat that process until all the rectangles are filled with your business cards:

5. Save your file and print; be sure to set your Print Quality to the best available option.
When choosing your paper, I recommend a quality cardstock between 80 and 100 lb — any thinner, and your business card will be too flimsy; any thicker, and you risk problems using the paper in a conventional home printer. A matte versus glossy finish is really a personal preference, but you do avoid any potential for fingerprints on a matte stock.
Then, cut! For the cleanest and straightest edges, use a paper cutter.
IF you would prefer someone else do the creating and the printing for you (and the end product show up at your door step), we have a route available for you, too. Click here to personalize and purchase these business cards on Zazzle.
A Note About Fonts and Colors:
While the instructions described above will achieve the simple and modern design pictured, you can (and should) customize the look for your business. If you’ve been brand building from the start, you already have a Style Guide in place, and everything you create for your business should reflect the guidelines you’ve set for your logo usage, fonts, and colors. If you’re new to branding, be sure to review our story on The Role of a Brand Style Guide.

Nice
how to make business card in coreldraw
LikeLike