KNOW YOUR TARGET

My number one first suggestion to an individual looking to promote their business on any social media platform is to get to know your target. If you’re looking to create a facebook business account and reflections of your first facebook profile picture trigger a ‘wow, look how young I was’ reaction, you can probably safely cross this item off the to-do list. If you’ve got a sad, faceless, white silhouette or no account at all, your first step is to dive — head first — into the unknown realm and fully immerse yourself. The definition for full immersion (or your threshold for comfort in the new environment) will vary by person, but I would recommend you spend AT LEAST a few hours over the course of a week or so bravely exploring. While a great supplement, research cannot compare to real-life experience.
So I’m going to assume you have an individual account on Pinterest, and you know that a ‘pin’ is an image most often representing linked content, a ‘board’ is a stored collection of like pins, and the Pinterest site or app is often used as a visual search engine.
WHO ELSE IS ON PINTEREST?
A closer look at Pinterest’s demographics (below) shows a more female tilt (though that tilt decreases in intensity every year) with other lesser represented demographics including individuals 65+ and people with income less than $30k.

WHY ARE THESE FOLKS ON PINTEREST?
The big topics traditionally associated with the platform are food and beauty/style. If your business is focused on one of these categories, Pinterest is the perfect match for you.
The impetus for me writing this particular article is that we are currently looking to promote our blog, Brand Building for Small Business, on Pinterest. Since we’re not a sure-thing kind of fit for this outlet, I went looking to confirm my personal impression that DIY business topics do perform well. Pinterest’s top 100 trends for 2019 fall into ten categories:
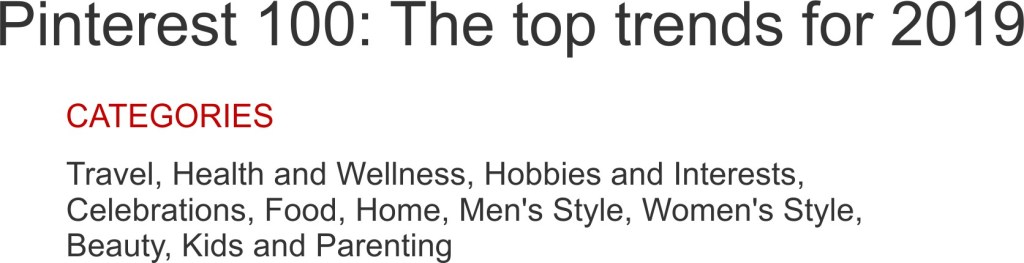
I hope your business is faring well here, because ours it still on the fence. Actually, we may not have even approached the fence yet. The top ten trends within each category are available on Pinterest’s web site. Upon drilling down, I see we have some potential in the Hobbies and Interests category: the first item listed is, “Do the hustle: People are turning their passions into profits—from canning to DJing to online tutoring. (Searches for side hustles at home +690%).” Apparently, lots of small businesses are blooming, and these at-home entrepreneurs are turning to Pinterest. I’m optimistic that your review of the top trends was equally encouraging. This social media platform really has evolved significantly over the years, and I believe a large percentage of businesses can find a comfortable home in today’s Pinterest.
MAKE YOUR BUSINESS PINTERESTING (sorry, just had to . . . )
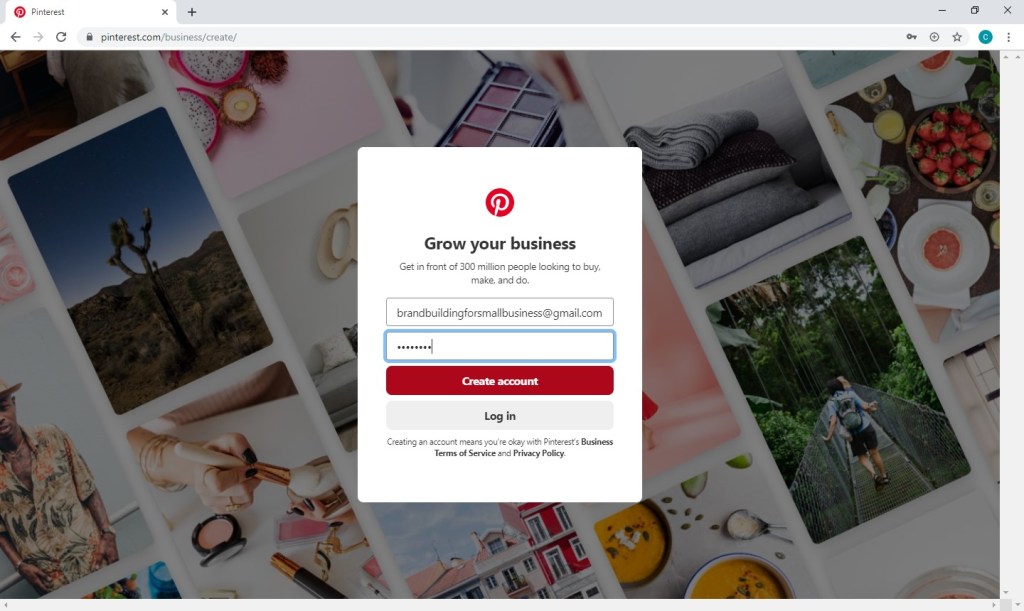
1. Create Your Business Account
You can either add your business profile to your personal one (by clicking in the top right corner, then “Add a free business profile,” and completing the following prompts) or you can create a profile independent of your personal account (log out of your personal account, go to pinterest.com/business/create/, fill in your email and password, click “Create account,” and answer the questions that follow).
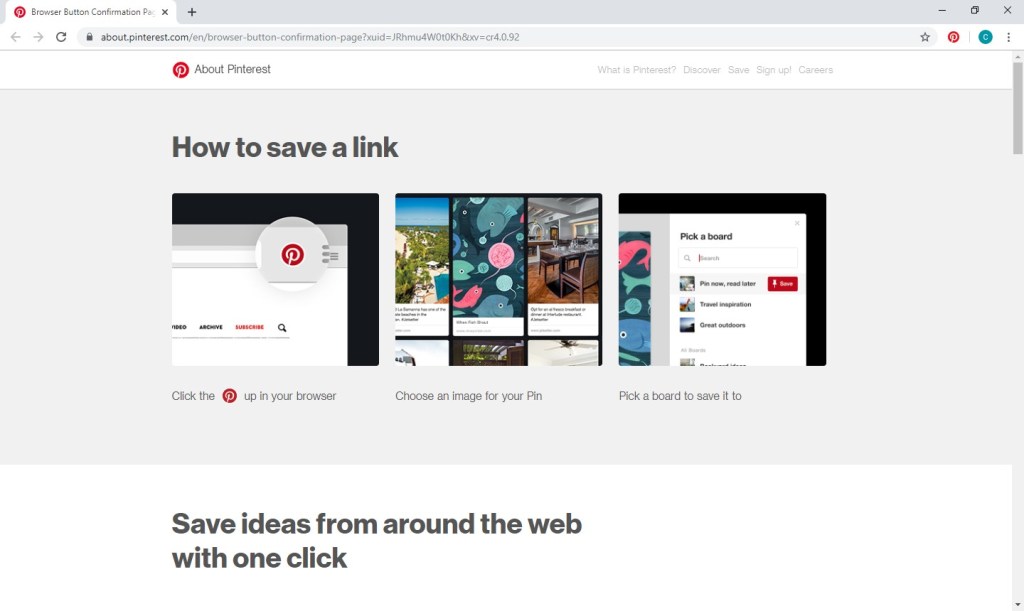
In that process, you’ll be asked whether you would like to add the Pinterest save button to your browser. While certainly not a necessity, the button can ease your future pinning.
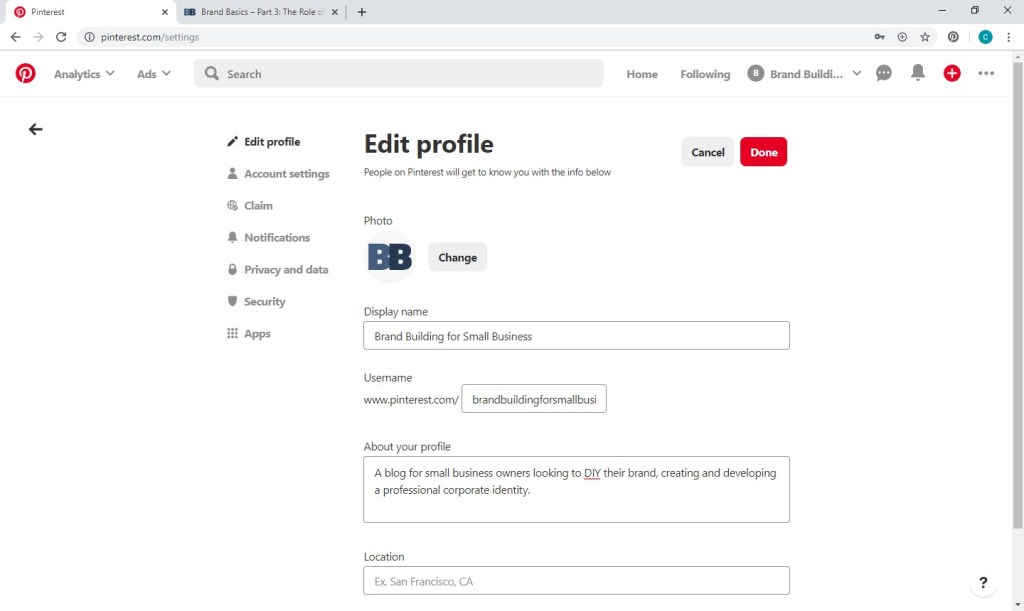
2. Edit Your Profile
Click the pen to the right of your business name for your business account settings. Your profile photo should be consistent with your brand, square, and at least 600 x 600 pixels. In the About section, you have 160 characters to be as descriptive as possible while including keywords and phrases that your target audience might search.
3. Create Your Boards
Next, you’ll want to decide how to structure your account. If you’re a photographer, you might want to have boards for each type of photography you do (weddings, babies, etc.). If you own a salon, you could create a board for each type of service you provide. As a blog for small business branding, I’m going to create a board for each brand component we focus on (logo design, style guides, direct mail, etc.).
To begin, you’ll need to switch from your Business hub to your Profile.

From your profile page, select boards, and click the plus sign.
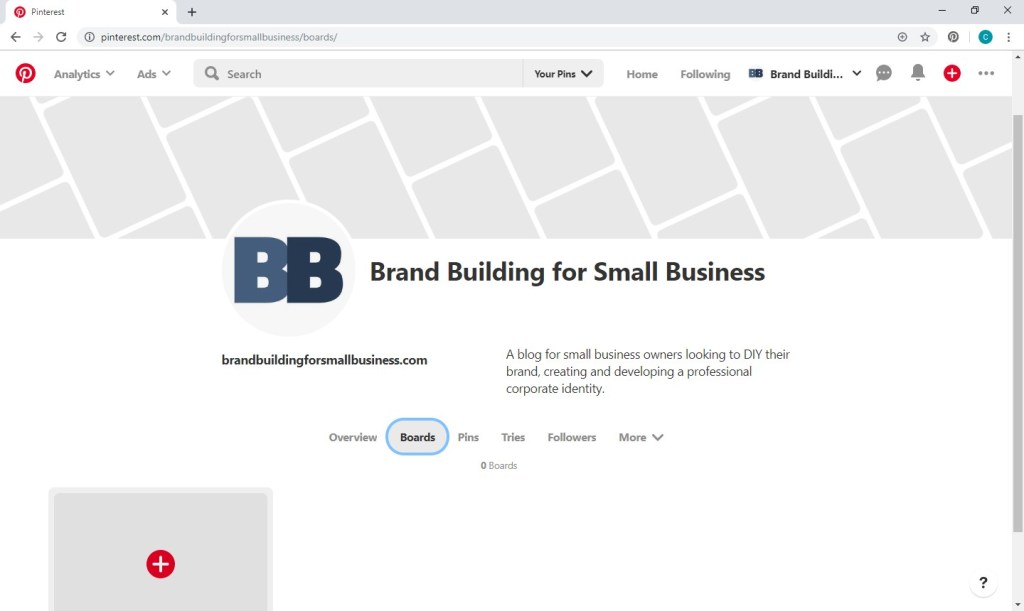
You’ll again want to be as descriptive as possible with your board names while keeping keywords in mind and limiting your character count to only 20.

Return to the boards page, hover over the name of your new board, and click the pencil icon to enter more details. Enter a description, choose an appropriate category, and save your board.

Repeat this process for as many boards as you’d like.
4. Get Pinning
Next, you’ll want to add some pins to your boards, which should include a mix of your products and services, related content that is new to Pinterest, and related content already on Pinterest.
The easiest route of course is simply repinning, but you usually need new content (in addition to your products and services) to make your board worth following, though exceptions certainly exist.
If you chose to download the Pinterest save button to your browser when creating your account, you can simply hover over pictures you’d like to pin, and the Pinterest save button will appear at the top left of the picture, as you can see below on our home page. While a great neutral image, nothing specific is communicated and would therefore be largely useless as a pin. You want to use an image that is visually appealing and clearly conveys the viewer’s destination if he or she were to click. Your logo is a nice addition but not a necessity.

Since no such image existed for my article on logo design, I needed to create one. The image specs put out by Pinterest are:
- File type: PNG or JPEG
- Max file size: 32 MB
- Aspect ratio: 2:3 or 1000 x 1500 pixels. Pins with an aspect ratio that’s greater than 2:3 might be cropped in people’s feeds.
So you want a high-quality, portrait image that includes a text overlay IF the picture isn’t self-explanatory. (If photo editing isn’t one of your talents, check out 7 of the Best Mobile Apps to Add Text to Your Photos at TechMadeEasier.)
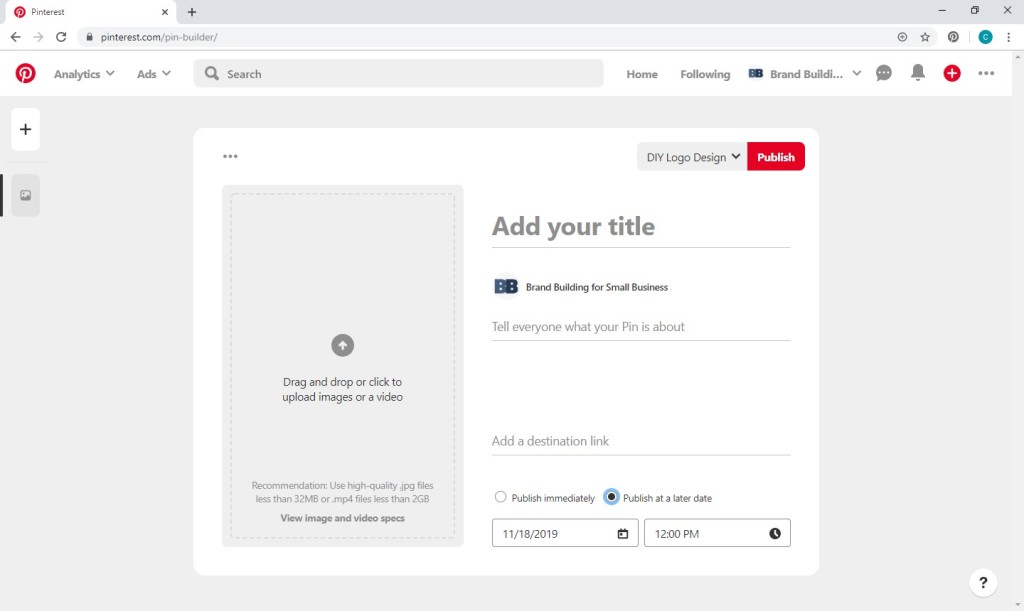
Once you’ve got your image and are ready to add your new pin, click on your applicable board, and click the plus sign at top left to “Create Pin”.

Upload your picture, add your title, explain your content, and include a destination link. (Once again, be mindful of keywords people might search to find content like yours.)

Quick Note About Rich Pins:
With a business account on Pinterest, you have the ability to add greater depth to your pins for products, recipes, articles, and aps:
– Product pins include real-time pricing, availability, and purchase information.
– Recipe pins display ingredients, cooking times, and serving sizes.
– Article pins show a headline, the author, and a story description.
– Ap pins include an install button.
While these additions can be very helpful, rich pins do require some initial groundwork. They function by displaying metadata associated with your content that’s included within the HTML of your website. For information on setup, see Pinterest’s Developers’ Overview on Rich Pins.
YOUR PINTEREST PLAN GOING FORWARD
Pinterest recommends you pin at least once per day during peak times (i.e., evenings and weekends). You can also schedule pins if you’d prefer to get a large amount ready all at once. To do so, just select “Publish at a later date” when creating your pins. You can schedule as many as 30 pins up to two weeks in advance.
Happy pinning! If you have any questions, leave a reply below.

2 thoughts on “Get Your Business Started on Pinterest”