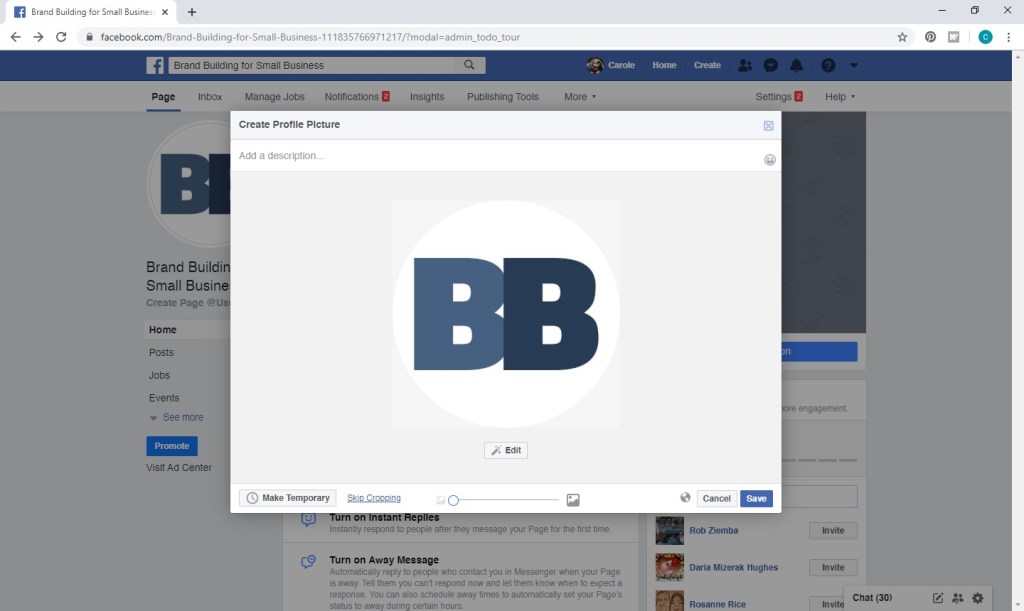
When looking to promote your social media presence, you want to include logos for each outlet, but you don’t want to be on the receiving end of legal issues with Facebook or Instagram. So we’ve done the legwork for you and compiled the logos each social media outlet wants you to use along with the rules for each. If you had a legal department, their ‘approved’ rubber stamp would be inked up and ready!

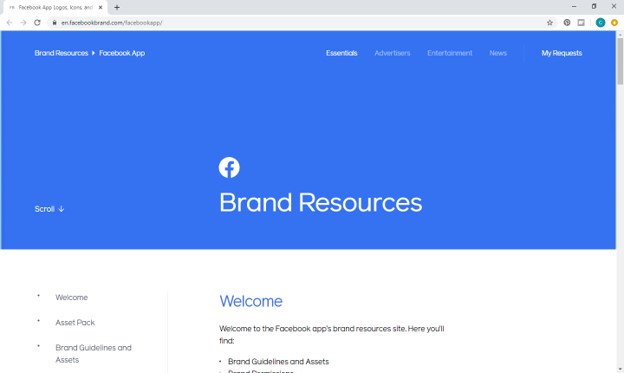
Brand Resources – https://en.facebookbrand.com/facebookapp/
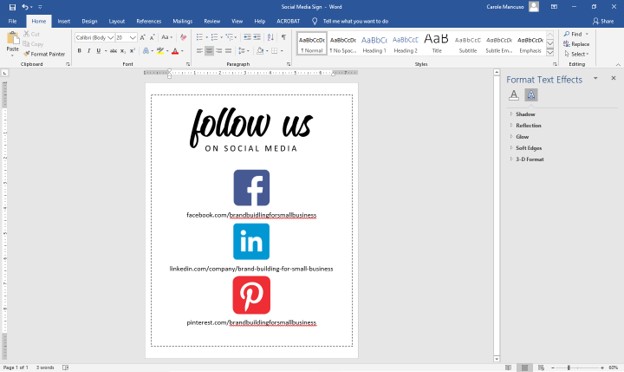
- Use the “f” logo to promote your business’s presence on Facebook.
- The color of the icon can either be facebook blue or white.
- Include a call to action and link with the logo.
- When using along with other icons, ensure they are all equal in size with adequate space in between each and maintain the shape and proportions of the “f” logo.
- Don’t change the logo in any way.
- Don’t make the logo the most prominent feature of your piece.

Icon (and instructions) – https://en.instagram-brand.com/assets/icons
- Use the Instagram glyph (or outline) in black or white (though you can place on a pink background when showing with other social media icons in their brand colors).
- Use the logo with a call to action unless including in a lineup with other social media icons.
- The glyph should be surrounded with clear space – specifically 50% of the glyph’s size – on all sides.
- Make the glyph no smaller than 29×29 pixels.

Brand Resources – https://about.twitter.com/en_us/company/brand-resources.html
- While Twitter prefers you use their icon free of any container, they provide versions with the icon enclosed in a square, a square with rounded corners, and a circle.
- When pairing the logo with an account name or hashtag, scale the text to 100% of the logo’s height.
- Only use the logo in Twitter blue or white.
- Don’t change the logo in any way.
- Don’t surround the logo with other creatures or accessories.
- The empty space around the logo should be at least 150% of the logo’s width.
- Make sure the logo is at least 32 pixels wide.

YouTube
Brand Resources – https://www.youtube.com/about/brand-resources/#logos-icons-colors
- Surround the icon with free space of at least 50% of the icon’s width.
- The icon should be a minimum of 24dp in height (digitally) and .125 in (printed).
- Don’t change the logo in any way.
- Only use the icon in your social media assets when linked to a YouTube channel.

Snapchat
Snap Kit Design Guidelines – https://docs.snapchat.com/docs/design-guidelines/
- Use the Snapchat app icon (shown above) along with other apps. (Otherwise, use the Ghost logo.)
- The icon should be a minimum of 18 px (digitally) and .25 in (printed).
- The empty space around the logo should be at least 150% of the logo’s size.
- Don’t change the logo in any way.

Brand Guidelines/Downloads – https://brand.linkedin.com/downloads
- Only use the logo in LinkedIn blue, all white, or all black.
- Make sure adequate space surrounds the logo.
- Don’t change the logo in any way.
- The “in” should be a minimum of 32 px (digitally) and .25 in (printed). The ® symbol should be clearly visible.

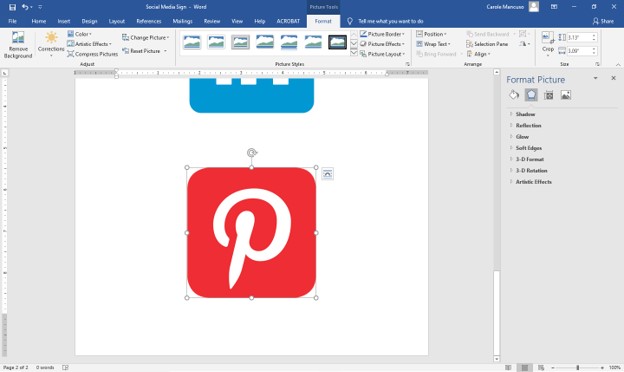
Brand Guidelines – https://business.pinterest.com/en/pinterest-brand-guidelines
- Use the Pinterest badge (above) and not the wordmark.
- Always include a call to action and your Pinterest URL with the logo.
- The logo height should be proportionate to the call to action text.
TikTok
Brand Guidelines – https://tiktokbrandbook.com/d/HhXfjVK1Poj9/legal
- TikTok’s logo can only be used with prior written permission.
- Use TikTok’s name in text ONLY to refer to their platform or services
- You can say things like “uploaded on TikTok” or “follow us on TikTok”
- Don’t include a space between “Tik” and “Tok”.
- Both Ts in TikTok are upper case, and all other letters should be lower case.
We hope this guide simplifies the use of social media logos for you. However, please keep in mind that this collection does not replace the full guidelines provided by each social media outlet, and those should be reviewed in full as well.
If you have any questions or comments, we’d love to hear from you! Post in the comments section below.