Creating a ‘Follow Us on Social Media’ Sign in Corel Draw

Disclaimer:  While we only recommend products we know and love, we want to note we use affiliate links and may earn a commission for purchases made through those links.

About Corel Draw: If you’re a graphic designer by trade, Corel Draw may not be your graphics editor of choice. If you’re a small business owner without a lot of graphic design experience choosing to do your branding in-house, Corel Draw is a great choice. You can pretty much address all your web and print graphics needs for a fraction of the price of the typical designer preference, Adobe. Since you’ve landed on this page in your travels, you probably already know that. If, however, buying a copy has been on your to do list for a while, there’s no time like the present. You can buy yours here and support this blog in the process.

A Quick Note About Versions: I’m using Corel Draw 18. As long as you’re using a version in that same vicinity (i.e., 16, 17, 19, or 20), your view should look pretty similar to the screenshots included throughout these directions.

You’ve created your social media pages to reinforce and promote your brand, and you regularly dedicate your time to adding content, so you want to be sure you’re taking every opportunity to properly promote your social media presence.  If your small business has a physical location (office, retail store, etc.), hanging a sign in a high-traffic area is a great option and relatively quick and easy.  I’ll show you the steps to create such sign in Corel Draw.

1.  From within Corel Draw, go to File > New.  You want an 8.5 x 11” portrait page that’s RGB and 300 dpi:

2. Select the Rectangle Tool:

Draw a rectangle in any size and then make sure the Lock Ratio is unlocked:

Then switch to the Pick tool:

Change the size of the rectangle to 8” wide x 10” high and then press ‘p’ to center the object on the page:

Double click the Outline Pen at the bottom right of the screen and change the color to dark gray, the width to hairline, and the style to dashed:

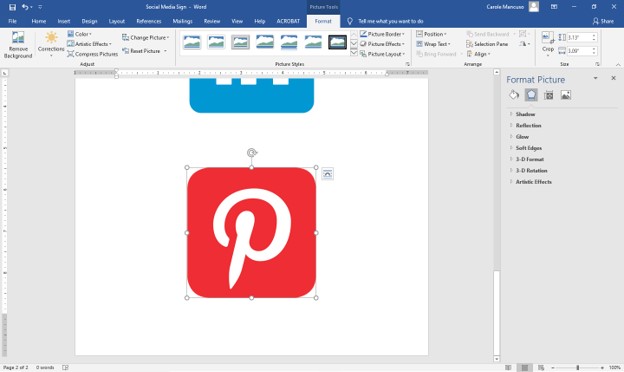
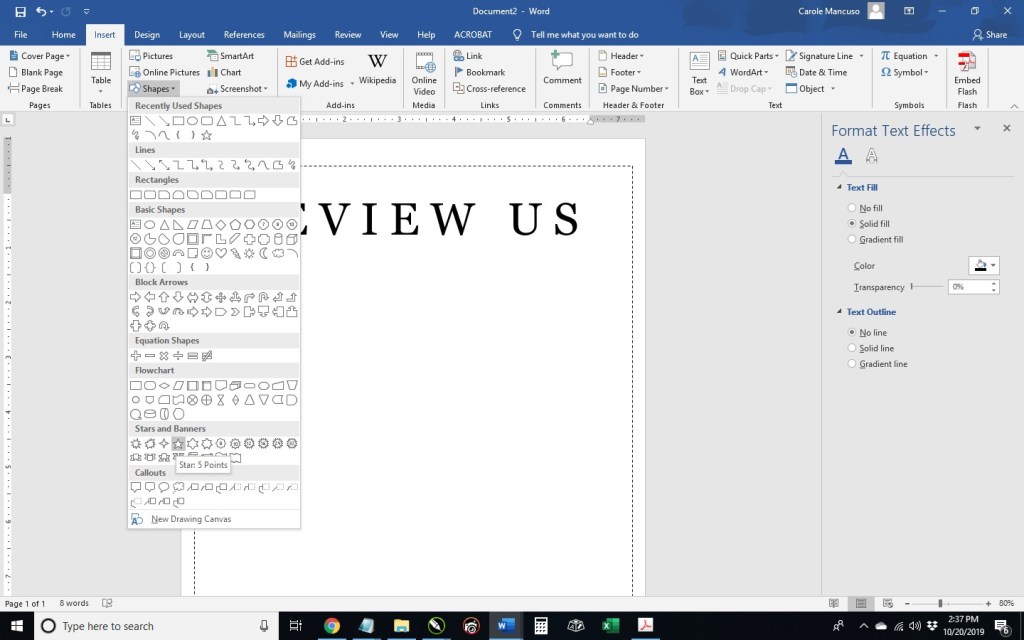
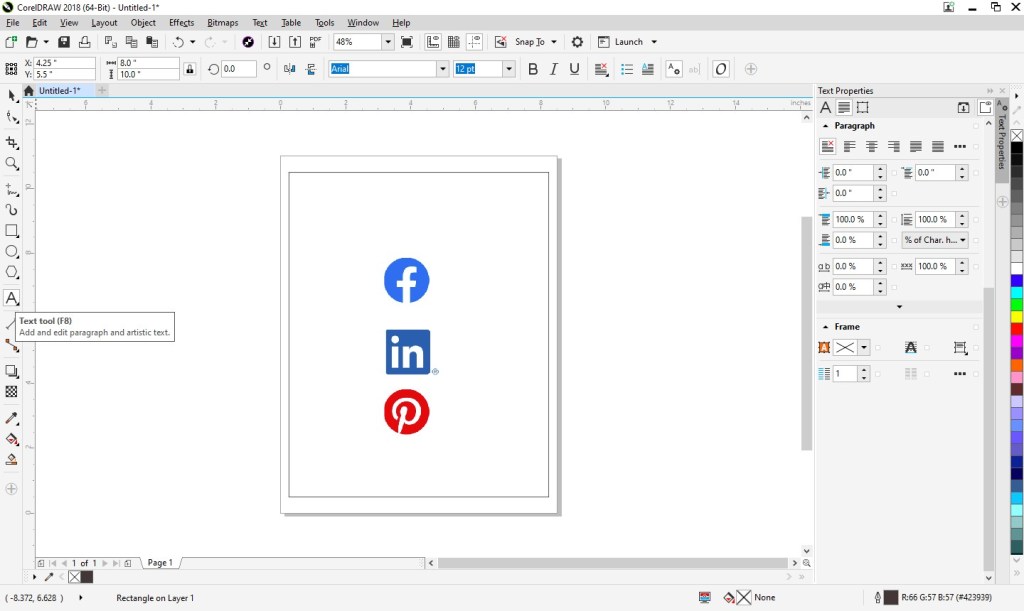
3. With the outline of your sign ready, next you can include the social media logos of your choosing.  Since potential legal issues associated with using other companies’ logos can be daunting, we’ve done the legwork for you and compiled the logos that the major social media outlet wants you to use along with the rules for each.  Visit our post, A “Legal-Approved” Free Collection of Social Media Icons, and simply copy a logo you would like to use from the post and paste the graphic into your Corel Draw file.  Repeat the process for each logo you would like to use.  I’ve selected three and each image is on top of the other at this point:

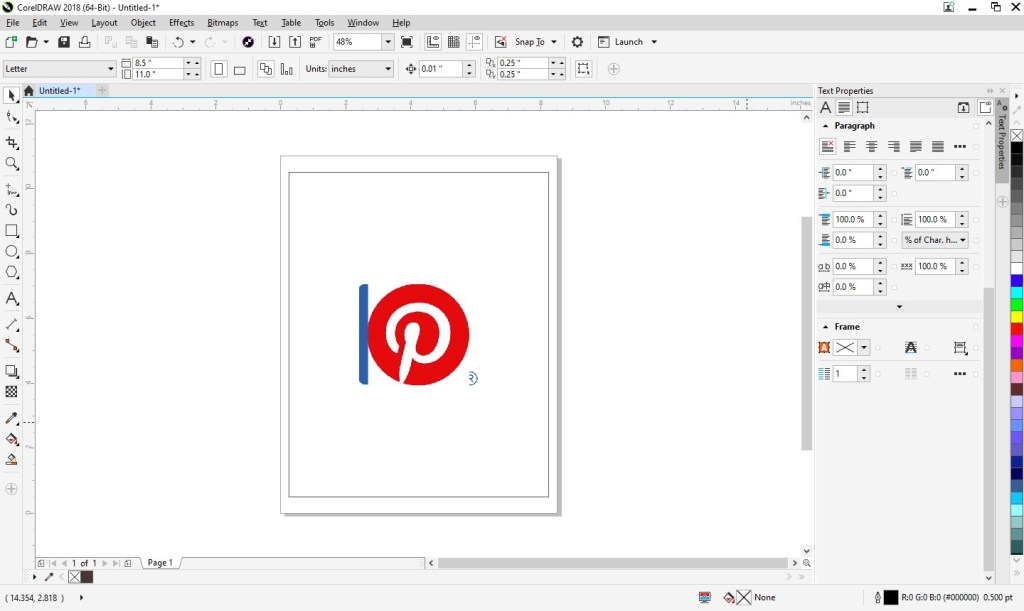
With one of the logos selected, lock the Lock Ratio and change the height of each logo to about 1.4”.  You may need to move the logos around using the Pick tool so you can access each of them.

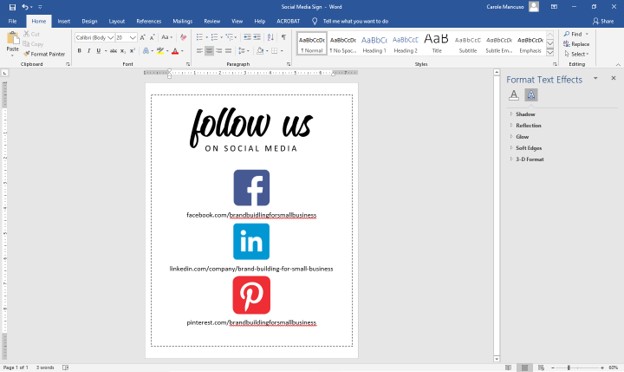
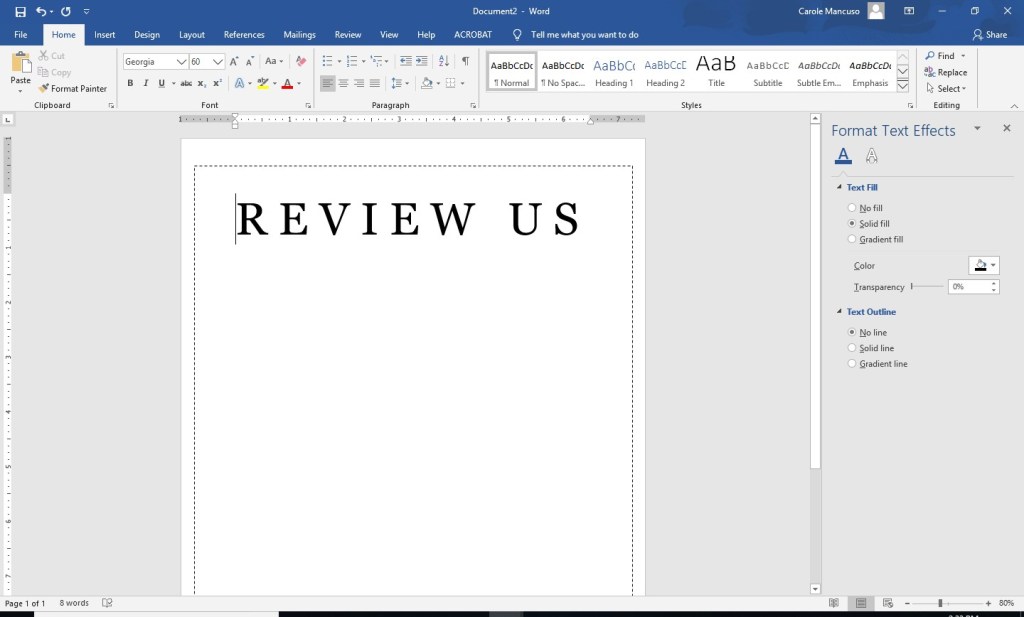
4. Next, select the Text tool so you could begin adding content:

Click anywhere on the page and type your business’s information for one of your chosen social media outlets.  Then, set the alignment of the text to centered and choose your font and font size.  I’m going to use Calibri in size 20:

Repeat that process for the remainder of your social media outlets:

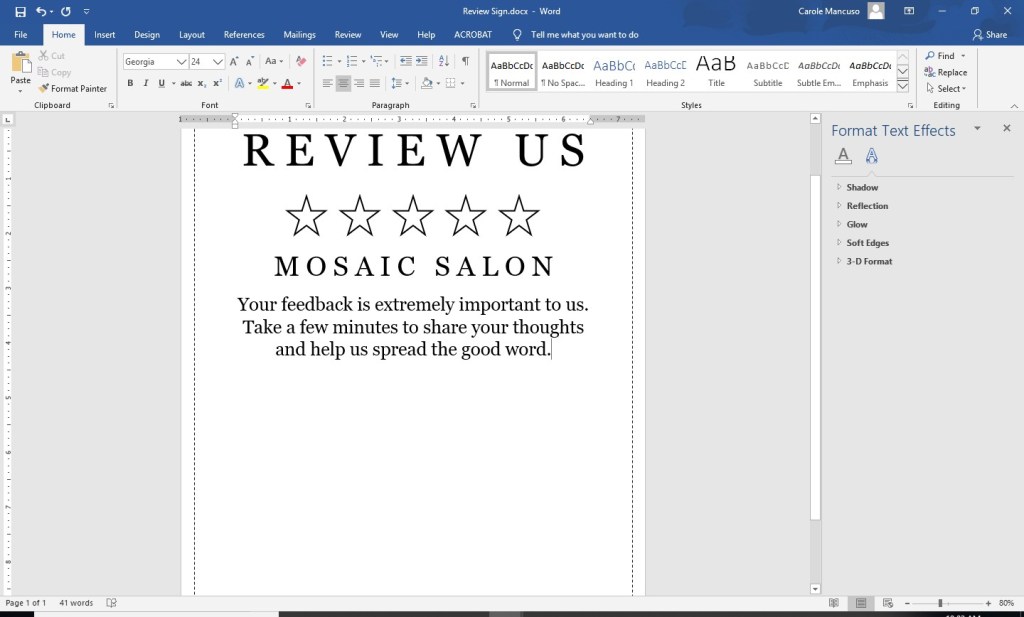
Now let’s add the heading.  I’m going to do “follow us” and “on social media” in two different fonts so I will create them as two separate text objects.  Using the Text tool, click anywhere on the page and type “follow us.”  I’m going to use the Candelion font at 160 pts in size and center the alignment.  Repeat the process for “on social media”, which I’m going to type in all caps, add a space between each character, and set the font properties to Calibri, 25 pts, and centered.

5. You’ll see your sign is starting to come to life.  Now you just need to clean it up.  Press Ctrl + A, which will select all the objects in your document and then press ‘c’ to horizontally center them all:

Then, move the objects around using the Pick tool till everything seems vertically balanced.  (Once you select an object, press Ctrl and continue to hold the key down while you move the object to retain its horizontal placement.)

6. Save your file, print (be sure to set your printer Print Quality to the best available option), cut (on the dotted line, which is 8×10”), and frame!

A Note About Fonts and Colors:
While the instructions described above will achieve the simple and modern design pictured, you can (and should) customize the look for your business. If you’ve been brand building from the start, you already have a Style Guide in place, and everything you create for your business should reflect the guidelines you’ve set for your logo usage, fonts, and colors. If you’re new to branding, be sure to review our story on The Role of a Brand Style Guide.

Advertisement

How to Get Reviews for Your Business

Previously, good reviews might help a potential customer decide whether to purchase your product or service . . . once you’ve already done the hard work of getting that individual in the door (real or virtual).  Now with web sites and apps dedicated to company reviews, they can actually be a form publicity . . . serving as the driver that leads the potential customer to your doorstep.  So . . . how do you get reviews?  If you already have an established business and customer base, sure, reviews will just happen.  And they will help you get more customers, which will land you more reviews, and so on.  However, if you’re at the beginning stage of your journey, getting a large number of good reviews may be a little more challenging.  In that case, you can take a few steps to help speed the process along. . . .

1. Get your company listed on review web sites.

If your company isn’t already listed on Yelp (or whatever the review site is for your industry), your happy customer probably isn’t going to go to the trouble to add you . . . so lay the appropriate groundwork in advance.  Make sure you know which review web sites your customers go to and add your company along with as much additional information as you can (pictures, address, phone number, etc.).

2. Ask your customers for a review. 

I believe the most effective way to convince a happy customer to go the extra mile for your business is to personally take the time to ask for a review.  If asking in person isn’t possible and you have other contact information, send an e-mail or a text.  Be sincere and straightforward.

3. Ask again.

You don’t want to make yourself a bother, but one follow-up is completely appropriate.  Your happy customer could have had every intention of posting a review for you and simply forgot; a simple follow-up could make all the difference.  If, on the other hand, your customer never intended to write a review, ignoring two of your attempts probably won’t be too traumatic for them. 

4. Display a sign.

A personal request isn’t always feasible.  For those occasions, a sign placed in a prominent area (possibly next to your register) that makes the request visually can be a good idea.  (See:  Creating a Review Request Sign in Microsoft Word)

5. Include a request with your product.

Another option for a less personal request is a physical note included with your product – the more you can make the request stand out, the better your chances of getting your customers’ attention.  (See:  Clever Customer Service)

6. Reply to existing reviews.

Some review venues enable you, as the owner, to respond to reviews.  You can thank the customer for their kind words or you can try to explain or apologize for less-than-stellar feedback.  Sometimes, your visible presence will encourage other customers to share their thoughts.

7. Offer an incentive.

You can always sweeten the pot a little by offering a dollar amount or percentage off on a future purchase as a thank you for a review, which could help with repeat sales as well.

8. Offer a product sampling.

If all else fails, you may need to be willing to give away your product or service for free in order to get your initial reviews.  You can either utilize a company to supervise the process, you can informally reach out to people you know, or you can post the offer on social media.

9. Be review worthy.

This one is entirely open to interpretation and can be tailored to represent your unique brand . . . whether you ship your product with a free bonus item, offer an appealing gift wrapping for free, or send a thoughtful thank you note after a purchase, try to do something that makes your company and product stand out from the crowd a bit and inspires customers to rave about their experience.

Creating a ‘Follow Us on Social Media’ Sign in Microsoft Word

You’ve created your social media pages to reinforce and promote your brand, and you regularly dedicate your time to adding content.  Now, you want to be sure you’re taking every opportunity to properly promote your social media presence.  If your small business has a physical location (office, retail store, etc.), hanging a sign in a high-traffic area is a great option and relatively quick and easy.

I’ll show you the steps to create such sign in Microsoft Word.

1. Open Word, create a new blank document, and insert a rectangle.  (When your cursor turns into a plus sign, you’re able to draw your shape.

By default, mine is blue.  Right click the rectangle and select More Layout Options. 

Set the properties to . . .

  • Size: 10” in Height and 8” in Width
  • Text Wrapping: Behind Text
  • Position:
    • Horizontal – Absolute Position of .25” ‘to the right of’: Page
    • Vertical – Absolute Position of .5” ‘to the right of’: Page

Set the Fill to No Fill and the Line to a Solid Line, Black Color, and .5 pt Width, choosing the Dash Type selection shown below.

2. Click inside the rectangle and type “Follow Us on Social Media”.  Set the font to one or more choices that work as your heading and size to appropriately fill the space.  Set the Alignment to Centered.  I went with the font Candelion Regular in all lowercase at size 160 for “follow us” and (on the next line) Calibri in all caps at size 25 and added a space between each letter.

3. Next, decide which review platforms you would like to feature.  We are currently active on Facebook, LinkedIn, and Pinterest and will be highlighting those.  Then, go to Google to find logos.  Most social media outlets will have a corporate page that makes their logo available to the public along with instructions for proper usage.  For example, Facebook has a Brand Resources page easily found when searching “facebook logo” on Google.

As you find the appropriate source for each social media outlet, save the logos to your desktop.

4. Press enter within your document to advance to the next line space and then insert each of your saved logos (from the menu at top, press the Insert tab, and choose Picture) in the order you want them to appear on your sign. 

Inserting each of mine took me to the bottom of a second page.  So, the first step in adjusting sizing is to crop any excess space from the logos.  (As you can see above, the outline of the Pinterest image is directly around the icon, so no need to crop that one.)  That’s not the case for LinkedIn . . .

To crop, click Picture Tools (at the very top of the screen), click the Crop icon (at top right), drag the outer edges of the box tight around the logo, and press enter.  Once all the logos are cropped as needed, try to match their size to about and 1.4” in height.  (This will ensure you have adequate room for text.)  To do so, click Picture Tools again and enter a height at top right.

Repeat for the other icons.

5.  Click in the space after your first icon, press enter to add a line space, and type your profile name/URL for that platform; repeat for your subsequent logos.  This process once again took me onto a second page.

Therefore, decrease the font size as needed.  I went with size 20.

And then adjust the spacing a little for each line of text (so you have additional room between each social media outlet).

And you’re done!

6. Save your file, print, cut (on the dotted line, which is 8×10”), and frame!

A Note About Fonts and Colors:
While the instructions described above will achieve the simple and modern design pictured, you can (and should) customize the look for your business. If you’ve been brand building from the start, you already have a Style Guide in place, and everything you create for your business should reflect the guidelines you’ve set for your logo usage, fonts, and colors. If you’re new to branding, be sure to review our story on The Role of a Brand Style Guide.

Happy designing!

Creating a Review Request Sign in Microsoft Word

Reviews have become an important part of our lives.  We look at them when choosing a restaurant, selecting a contractor, watching a movie, or even buying a new pair of jeans.  As a result, having an abundance of glowing customer reviews can have a big impact upon your business.  However, you know that already, which is why you’re here.  So, let’s get started. . . .

I do believe the most effective way to convince a happy customer to go the extra mile for your business is to personally take the time to ask for a review.  However, a personal request isn’t always feasible.  For those occasions, a sign placed in a prominent area (possibly next to your register) that makes the request visually can be a good idea.  I’ll show you the steps to create such sign in Microsoft Word.

1. Open Word, create a new blank document, and insert a rectangle.  (When your cursor turns into a plus sign, you’re able to draw your rectangle.) 

By default, mine was blue.  Right click on the rectangle and select More Layout Options.

Set the properties to . . .

  • Size: 10” in Height and 8” in Width
  • Text Wrapping: Behind Text
  • Position:
    • Horizontal – Absolute Position of .25” ‘to the right of’: Page
    • Vertical – Absolute Position of .5” ‘to the right of’: Page

Right click on the rectangle again and select Format Shape.  Set the Fill to No Fill, and set the Line to a Solid Line, Black Color, and .5 pt Width, choosing the Dash Type selection shown below.

2. Click inside the rectangle and type “Review Us”.  Change the font to one that works as your heading and increase the size as needed to appropriately fill the space.  Set the Alignment to Centered.  I went with the font Georgia in all caps at size 60 and added a space between each letter.

3. Press enter to advance to the next line and then insert a star. Once your cursor is a plus sign, draw the star about a half inch or so in size. 

Right click your star and select More Layout Options: within the Text Wrapping tab, select In Line With Text from the Wrapping Style section; within the Size tab, make the star .7” in Width and Height; press OK. 

Right click on the star once again and select Format Shape: set the Fill to No Fill; for the Line, select Solid Line, Black color, and 1.5 pt Width. 

Right click on the star one last time and select copy.  Add a space and paste your star.  Repeat three more times. 

4. Press enter and add your company name.  I used the same formatting as the “Review Us” heading but decreased the size to 36.

5. Press enter and include your review request.  I went with: “Your feedback is extremely important to us. Take a few minutes to share your thoughts and help us spread the good word.”  I kept the font the same and just changed the font size to 24.

6. Next, decide which review platforms you would like to feature.  I decided to use TripAdvisor, Facebook, and Google.  Then, go to Google Images (https://www.google.com/imghp) and search for the logo of one of the companies.  I searched “tripadvisor logo”.

Save your selection to your desktop.  (I chose the 4th logo of the top row. )  Press enter to add a line space to your Word Document and insert the logo.

As you can see, the logo is quite big.  Since I plan to include three logos, I decreased the size a bit. 

Repeat the process for each logo you would like to include, adding a line space between each one.  If you extend onto a new page, don’t worry.

7. The last step in Word is simply a final tweaking so that everything looks nice and professional on the page.  I increased the line spacing after the company name, the paragraph, and in between the logos, and decreased the size of each of the logos.

8. Then, save, print, cut, and frame!

Happy designing! 

Shameless Plug:
While our preference is always DIY, a ready-to-customize templated version is available from my shop in case you’re extra short on time this week:  https://www.instant-invitation.com/listing/668274665/review-request-sign-template-printable