Disclaimer: While we only recommend products we know and love, we want to note we use affiliate links and may earn a commission for purchases made through those links.

About Corel Draw: If you’re a graphic designer by trade, Corel Draw may not be your graphics editor of choice. If you’re a small business owner without a lot of graphic design experience choosing to do your branding in-house, Corel Draw is a great choice. You can pretty much address all your web and print graphics needs for a fraction of the price of the typical designer preference, Adobe. Since you’ve landed on this page in your travels, you probably already know that. If, however, buying a copy has been on your to do list for a while, there’s no time like the present. You can buy yours here and support this blog in the process.
A Quick Note About Versions: I’m using Corel Draw 18. As long as you’re using a version in that same vicinity (i.e., 16, 17, 19, or 20), your view should look pretty similar to the screenshots included throughout these directions.
You can have yours ready to use in about ten minutes, assuming, of course, you’ve already made the hard decisions about your brand identity and:
- already have a logo;
- have your chosen fonts; and
- have selected your color palette to use with your logo.
(If not, we encourage you to read Design Your Own Logo and The Role of a Brand Style Guide first.)
Now, on to the process . . . .
1. Launch Corel Draw and click the “New Document” button on the Welcome Screen. Set the document to 8.5” wide by 11” high, CMYK color mode, and 300 dpi; click “OK.”

Then, you’ll want to prepare the document a bit. First, click on the “Snap To” dropdown towards the top of the page; check Document Grid, Guidelines, Objects, and Page; then, click the “X” to close the dropdown.

Next, add Guidelines to create your margins by clicking on the ruler (just above your workspace) and dragging the cursor from the ruler towards your page. You’ll see a highlighted dotted line will appear and will continuously “snap” into certain placements while moving. (The word “grid” will appear over the line at those snap points; since you chose to “snap to” the document grid, the guideline will snap at each quarter inch on the page.) We want to set the guidelines to create a 1/2″ margin on the page, so let go of your guideline at the second snap on the page. For the bottom, let go of the guideline two snaps from the bottom of the page. Do the same for the left and right. Add one more vertical guideline to the center of the page at 4 1/4″.

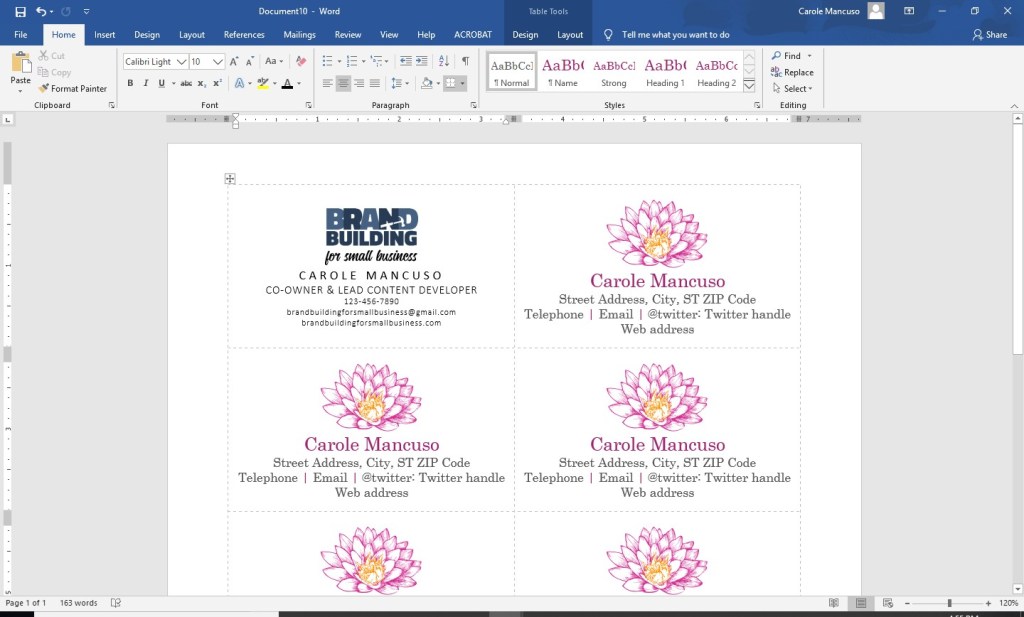
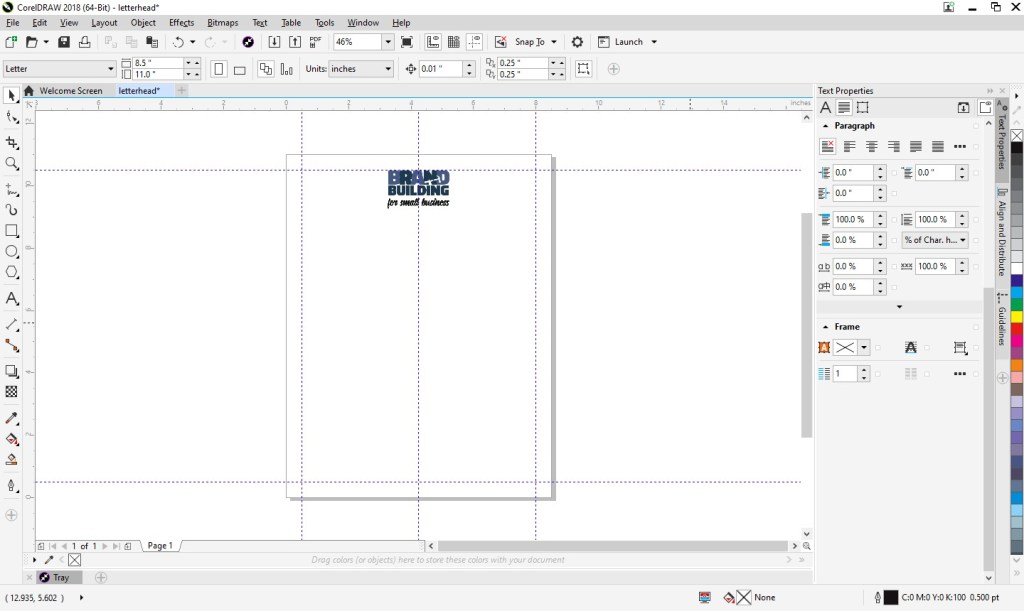
2. Then, insert your logo into the document. From the File menu, choose “Import,” navigate to your logo, select the file, press “Import,” and click within your document to place the logo file.
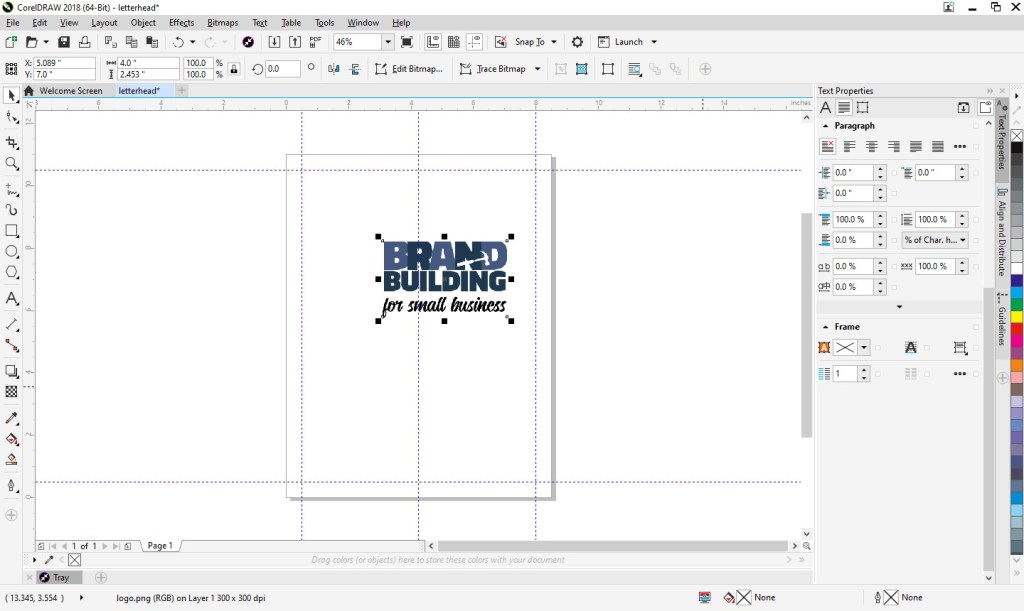
You’ll probably need to adjust the sizing of your logo. If so, just click on a corner of the image and drag diagonally to increase or decrease the size as needed. (If you drag other than diagonally, you’ll resize your logo disproportionately.)
Next, move your logo so that the top of the image is aligned with your top guideline and the center of the image is aligned with the center guideline.
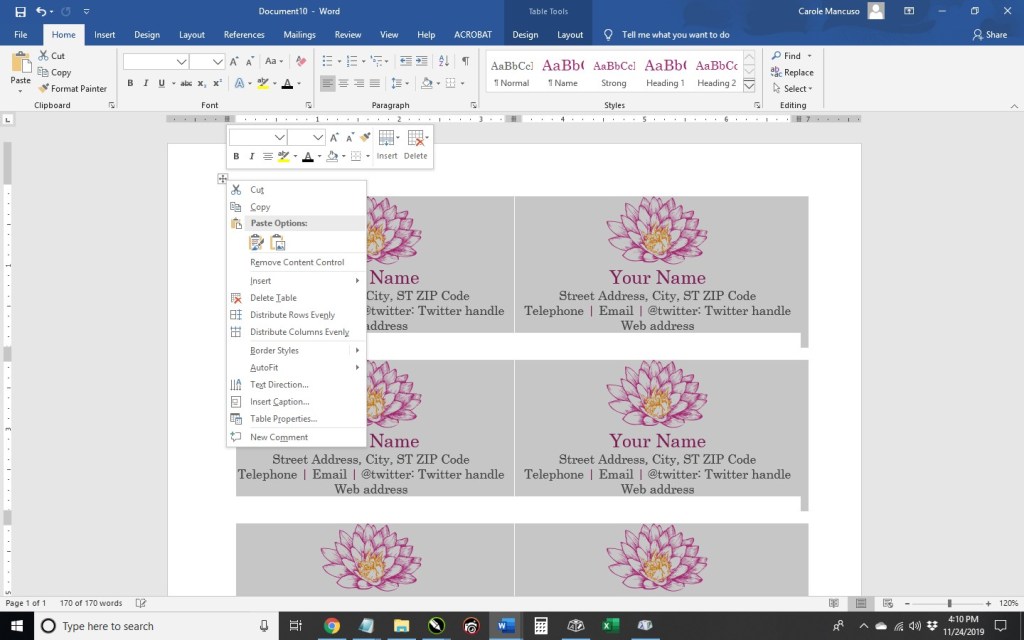
3. Next, you can add your footer. At left, you’ll see an A, which is the text tool. Click on that and create a square at the bottom of the page within the margins.

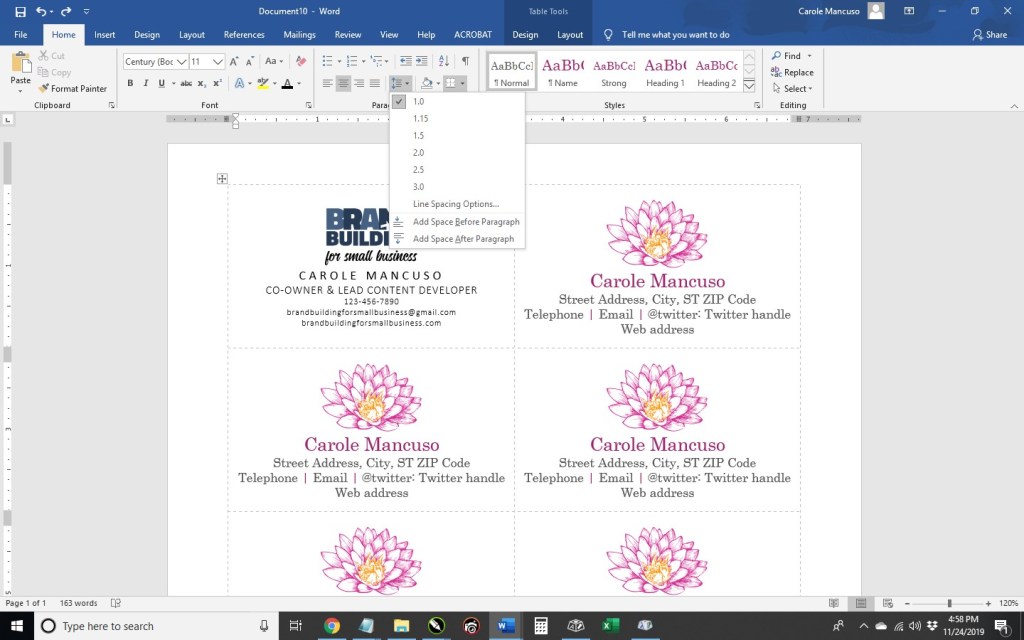
With the text box selected, set the font properties at the top of the page. (I went with Calibri in size 11 Centered.) At this point, zooming in on the text box is helpful. Click the magnifying glass at left (which is your zoom tool) and click on the text box.
In the footer, you can include your company name (or omit if you’d like since your company name is most likely already in your logo), your tag line (don’t waste any opportunities to educate people about your business), your web site address, email, address, phone number, etc.
You can begin typing by simply clicking into your text box. If you find you need to increase the size of your text box, click the top center handle and drag upwards as needed.
I included our business name, tag line, and web address; I also added some dashes above the web address for visual separation.

Next, zoom back out to the full page view by clicking on the magnifying glass and then selecting the “zoom to page” button at the top of the page.

Create another text box for your body copy. Click the A text tool and draw your box in between your logo and footer and within your left and right margins.

Set the font properties. (I went with Calibri Light in size 10).
And you’re done! You can now save your template future use. Go to File > “Save;” then, navigate to your desired location, name your file something that will be clear to you in the future (like “letterhead”), and click “Save.”
Feel free to download and use our letterhead as a starting point.
IF you would prefer someone else do the creating and the printing for you (and the end product show up at your door step), we have a route available for you, too. Click here to personalize and purchase this letterhead on Zazzle.
If you have any questions, just ask us below!