The first time I attempted printing on envelopes was when I was doing Christmas cards about six months after I had started selling envelope templates as part of my invitation business. By time I designed the template for sale, the product had already been requested multiple times, and I finally caved. Something about the process intimidated me, and I was very reluctant to enter the market. And I was right . . . to an extent. I’ve been selling envelope templates for years now, and a number of them are best-sellers. That said, I encounter customers who experience issues with the process on a very consistent basis. If I am spending multiple hours assisting a customer, almost guaranteed I’m working with someone who is trying to print on envelopes.
Going back to my first time, I, too, had challenges, and printing perfection probably came after (similar to some of my customers’ experiences) about two hours of fighting frustration. I write all this not to scare you off but to properly prepare you. For most how to’s, I go on about speed and ease. This is not that kind of introduction. You will most likely be confused and annoyed at one or multiple points in this process. If you’ve got a fighting spirit, you may even be tempted to physically confront your printer. However – if you’ve got endurance, you will most likely prevail!
You could also be one of the lucky ones. Many of my customers have raved about how wonderfully easy the process was for them. I’m always a little secretly envious in those situations. Hopefully, that, too, will be your experience.
Regardless, whether or not you initially struggle and ultimately succeed or immediately win the day, you will pretty much be an envelope printing wizard going forward (until you purchase a new printer of course). Now, the process is old hat for me and is SOOO much quicker than writing out addresses and SOO much nicer looking than labels (yes, I’m an envelope snob now, sure, but we all have our faults). So . . . if you’ve decided you want to plunge forward, I commend your gumption and encourage you to read on.
1. Open Microsoft Word and select New > Blank Document. Click the Layout tab, press the Size button, and choose Envelope #10 (which is a standard business-size envelope). Then, click Orientation and select Landscape. Finally, click Margins, select Custom Margins, input .6” for Top and Bottom and .86” for Left and Right, and press OK.

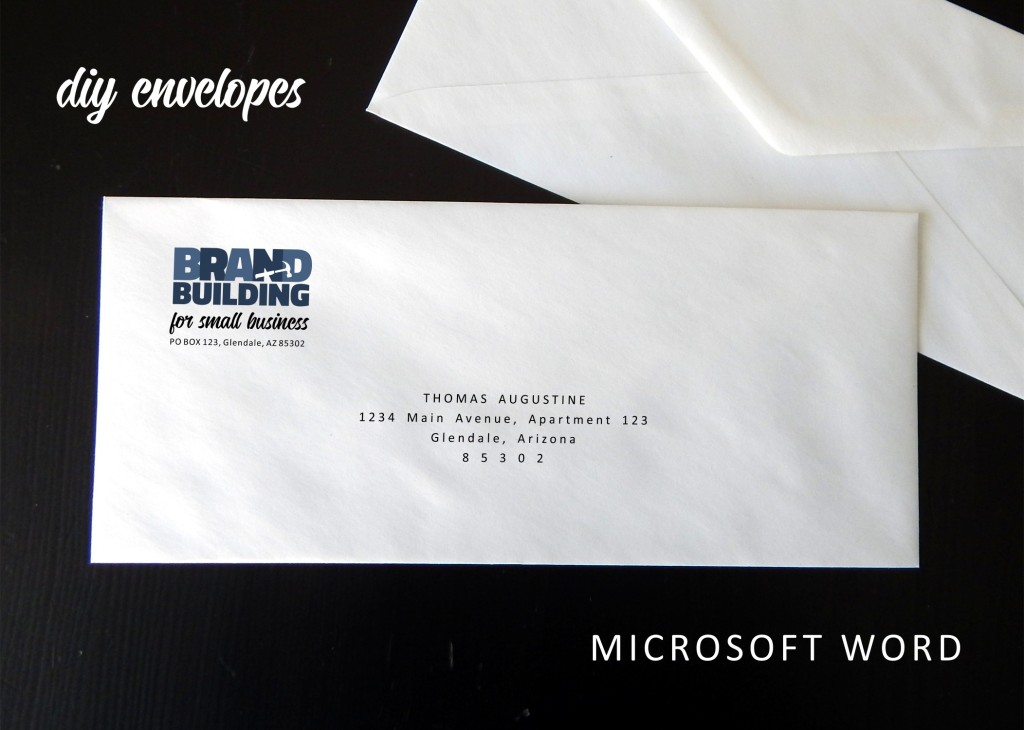
2. Next, add your logo. Click the Insert tab, select Pictures, and choose This Device; then, navigate to your logo, select the file, and press the Insert button.

You’ll probably need to adjust the sizing. If so, just click on a corner of the image and drag DIAGONALLY to increase or decrease the size as needed. (If you drag other than diagonally, you could resize your logo disproportionately.)

Then, click in the open space to the right of the logo, press enter to add a line space, set your font properties, and type your business address. (I went with Calibri font in size 7.5 and expanded the character spacing by .5; I fiddled a little with the options until the address lined up just so with the logo.)

3. Select the Insert tab, click the Text Box button (in the Text section at upper right), and choose the Simple Text Box.

Click the Shape Outline dropdown and select No Outline. Type in your recipient’s name and address (or just input placeholder info for now). Then, select the outline of the shape and click the Home button to set the font properties of your text box. (This time, I went with Calibri in size 11 centered and expanded the character spacing by 1. I also selected Remove Space After Paragraph from the Line and Paragraph Spacing dropdown.)

At this stage, I just fiddled with the font properties a bit more. I decided to center the text, extend the character spacing by 2 pts, cap the name, put the zip code on its own line, and extend that character spacing by 5 pts. I also moved the text box move down a bit.

4. Be sure to save your file at this point to be accessible whenever you need to print an envelope.
And now, on to the tricky part. . . .
5. Go to File > Print. Once on the Print screen, be sure Envelope #10 is selected from the Page Size drop down.
Load your envelopes in your printer (according to your printer specifications). Take a picture so you remember your placement.
Print. If the addresses printed upside down, on the wrong side, not on the envelope at all, etc., adjust your envelope’s placement in the printer accordingly. Take another picture (so you can keep track of what you’ve already tried).
Once you know the proper way to line up your envelopes in your printer, be sure to take one last picture of the right placement for future reference . . . for the next time when can be an envelope printing pro.
That said, good luck . . . and try to be patient (or at least try to make it a little fun . . . maybe do a shot between each fail).
Disclaimer: An alternative route to printing envelopes in Word does exist, and I would be remiss not to at least mention that Microsoft does offer an automated set-up for Envelopes. While the functionality can be less frustrating when printing, formatting options are very limited. Feel free to check out Microsoft’s envelope how-to and see which route suits your needs best.
If you have any questions or comments, leave a reply below.
(Next up in the world of business envelopes . . . mail merge. Stay tuned!)
